Tuesday, June 28, 2011

Ponies and Snakes 11

The Bay Area Mustang Association (BAMA) presented their annual show, Ponies & Snakes 11 at Danville Livery, Sunday June 26, 2011. More here

rare '68 tilt wheel
 

Sunday, June 19, 2011

upgrading the power part two

So I already said that the lighting in my new garage is great, and it is, but that still left me with a pile of lights and tubes that I salvaged from the last workshop - I pondered whether to just leave them behind, but I was worried my electrical work might not be up to California building code, so I ripped them down.


I decided to install a couple of the lights below the cabinets at the back of the bench - mainly to make up for blocking off the window.

Like the bench outlets, the lights are also served from the outlet bank, and I installed a switch so that the lights are independent of the other garage lighting, but are not "always-on" like the outlets.


In the past I've tried to join wires at the back of the outlets, but with a complicated set up like this, it makes sense to install a junction box.


The last bit was to connect the new cabling to the supply, and install a few more outlets in the laundry area.


I also put in another junction box in case I want to add anything else in the future.


There was no smell of burning after the big switch on, just lots more light....and POWER!


The flash photo doesn't show it, but this outlet is showing a double orange, which means the polarity is correct and the outlet is grounded. It's always a good idea to check every outlet before using them, just to make sure you haven't got any crossed connections, or forgotten to crimp a ground.

Tuesday, June 14, 2011

upgrading the power part one

The lighting in my new garage is great, but the power...well a solitary outlet was never going to be good enough for what I need! I had a similar paucity of outlets in my last garage, so I am at least practiced in adding electrical infrastructure. (Note: I'm posting this stuff because I want to keep my blog going while my Mustang project is on downtime, but, if you're thinking of doing your own re-wiring, there are many better resources out there).


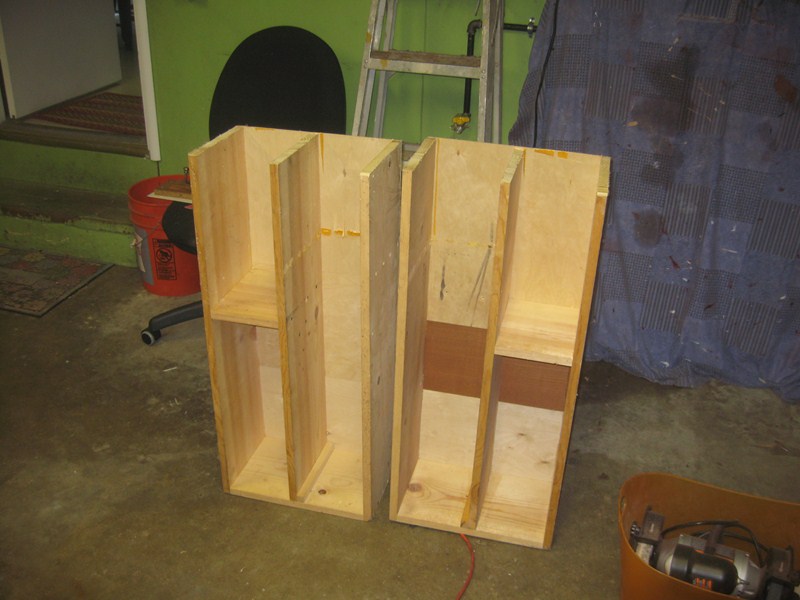
I started off by securing a long piece of cable close to the outlet I will be tapping into, and then threading the cable behind the water heater, through the back of one of the cabinets, and out into the area behind the bench.


Next I cut some pieces of conduit into appropriate lengths, threaded them over the cable, and secured the conduit with some clamps. Here's the clamp inside the cabinet.


I will be putting several outlets at the left side of the bench where the cable emerges from the cabinet.

I previously installed outlets at the front of one of my benches, and they were so useful I decided this would be a great opportunity to put in a couple more.


Once I decided on the location, I drilled out the front edge of the bench (a 2x4) with a hole saw.


After enlarging the opening with a chisel, I threaded the armored cable through and connected the extra outlet. I always use armored cable under the bench, just in case I happen to drill through the bench top - not very likely as it's made of 2x6 boards, but it's always better to take too many precautions where safety is concerned.


Next I extended the cable/conduit to the pre-existing outlets at the rear of each bench.


These outlets are fed by cable exiting from the outlet bank at the left side of the bench - essentially what I have is just a long extension lead with LOTS of additional outlets....or it will be when I get it finished...

Monday, June 6, 2011

setting up the Green Room part two

So, onto sorting out my tools.....


....and hanging them on my peg board....


I wanted to use a shelving rack I brought with me, but there wasn't really anywhere to put it, so I ended up cutting in in half to make it fit.


....and hanging them on my peg board....


I wanted to use a shelving rack I brought with me, but there wasn't really anywhere to put it, so I ended up cutting in in half to make it fit.

before....
...during...
...after
It felt great to be working in my garage after so long.

The lighting in this garage, unlike my last one, is excellent: three double fluorescent strips. Last time I started off with a solitary 60 watt bulb!


There's a fourth strip in the attic that was presumably relocated to make way for the automatic garage door opener.


There is actually a lot more space in the attic than there looks in the next two pictures - I can easily fit the car interior up here for example.