
And that’s how they remained, for a number of reasons, but mainly because the garage I moved to was too small to set up a welder and a paint gun. Fast forward to the Christmas/New Year holiday at the end of 2015 and I had to decide whether I was going to put a pair of horrible rusty fenders back on my nice clean car....or do something else?
The something else came down to a straight choice between stopping the rebuild to restore the fenders, or replacing them with reproduction parts and getting back on with the rest of the assembly asap. I must admit to a lot of back and forth on this. While Dynacorn™ reproduction fenders are available for less than $150 each through Tony at RPS in Hayward, I was really concerned that they would not line up properly. But then my original fenders were not in the best of shape either and I knew they would take a lot of precious time to restore. Ultimately I decided on restoration of the originals.
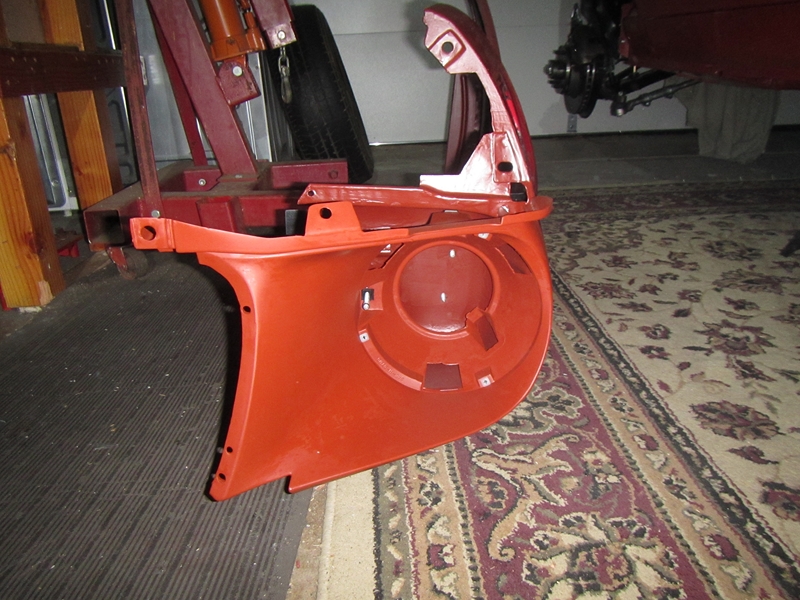
Over the Christmas holidays at the end of 2015 I took the fenders off the car and transported them the three blocks back to the shed I built the summer before last. Here is the "before" photo:

I broke out the wire wheel and ground off all the accessible rust and grot from the inside of the passenger fender.

The only seriously damaged area was in the bottom corner at the rear of the fender. This area was cut out with the screaming wheel of death and replaced with new metal using the MIG welder than had been stuck inside a box for the prior four years.

The repaired area was the filled with Bondo™ and sanded, more than once.

A similar repair was made at the inside.

The bare metal was painted with rust converter which was sprayed in the areas I couldn’t get to with a brush. Lovely jubbly.

The unprotected section of the inner side of the fender was treated with a think layer of rubberized bedliner

All these steps were repeated with the driver side fender over the following few days. My shed was too small to work on more than one at a time. When they were both completed, I broke out the replacement fender ornaments I've had in storage for...well years, obviously. The engine has been upgraded from the 200 cid straight six, to the 351 cid Windsor, and I wanted to mark that with the right "351W" fender badges, even though this engine was not available in the Mustang in 1968. Of the four pegs which secure the new ornament, three are in the same place as the originals so I had to drill one extra hole in the fender....better to do this now than after paint!


The original splash guards were in awful shape so I bought replacement parts from NPD and assembled them in my shed.

I installed the replacement splash guards back at the garage:
 |
| One piece goes inside the front of the fender... |
 |
| ...and the other attaches to the car body |
I also attached the front fender caps which were refurbished and spray painted with epoxy primer way back when.
Finally the fenders were hung on the car and the headlight buckets installed. Happy New Year 2016!

No comments:
Post a Comment