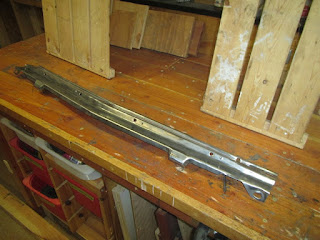
As usual, the first step was accomplished with a mixture of the trusty wire wheel and some aircraft stripper I had left over from this project.
There were several holes in the stone guard that I didn't really need. I blame whoever installed the 1970's AC. The holes were filled in with the MIG welder and ground down, painted with primer, yada yada...
And it dropped right in! No adjustment required. The picture below was taken a bit later after the front bumper had been bolted on.
I also installed new trim pieces - the originals have irreparable AC-related damage.
I bought a reproduction grille and installed the original trim pieces and my custom GT fog lights with their zinc-plated mounting brackets.
The back bumper was bolted on around the same time. Both bumpers need re-chroming at some point in the future. The rear bumper is also slightly bowed.
At the end of January 2016, Amy and I took an early morning trip to the world famous Turlock Swap Meet, where, among other things, I was finally able to locate the third member I've been looking for all these years. Older readers may
The key here, as often, is price. I was reluctant to drop a thousand bucks on a complete third member when I already had one, and I was quoted a similar amount for a local shop to swap out the gears....so I sat tight and waited.....and then found almost exactly what I wanted (3.40:1 rather than 3.50:1), at a price I could not quite believe.
The following weekend the housing was painted with Eastwood brake gray and installed with a new gasket and some shinny copper nuts and washers that I got from NPD.
 |
| Lovely-Jubbly! |
Back to work on the engine...I installed the distributor and most of the under-hood wiring was done by this point.
The valve covers had been wrapped up and stored for over three years when I broke them out in March 2016. The export brace came from a Turlock visit in 2011. Installing the brace was seriously difficult but I made it fit.
 |
| Looking good... |
 |
| Looking even better... |


No comments:
Post a Comment