
 |
| Martinez, California, July 2011 |
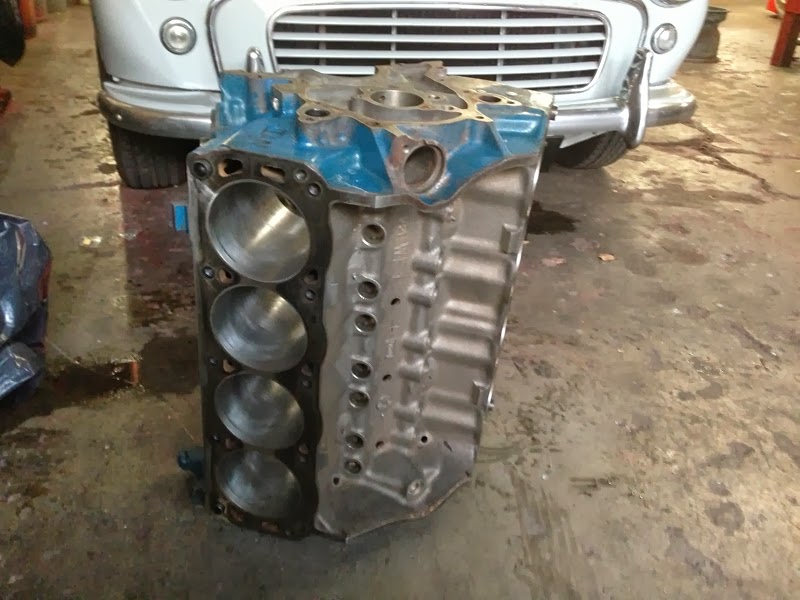
I took the stripped down block to Stirtz Machine in Oakland for magnaflux and integrity testing. The guys at SM are real old school.


On the weekends, they build their own racing cars.

The block came out all sparkly, and the cylinders only needed basic honing - very fortunately because the block has already had an extra 40 thou hacked out of it and anything more than a honing would have been terminal.
After the block passed, I went back to Stirtz and dropped off the heads, pistons and the crank shaft and left the oil pan and timing chain cover for clean up. I also had Carl balance the crank and grind the pistons to uniform mass. I'm pretty sure that I also asked the guys to "sort out" the heads, and although they did give them both the magnaflux treatment, I got the impression that nothing else was needed....so I took everything back home and painted it all red. (Except the crank. And pistons).


It's been a while since the odor of red paint dissipated from the garage, and while I've been making progress in other areas, the motor has been sitting on the stand, providing me with somewhere to stack miscellaneous small items. I've probably mentioned that I've been "narrowing down the spec." in half a dozen or more posts, but the truth is, I've found this process very difficult - which is why it's taken so long. I mean figuring out what cam to buy was tough, and that's just a case of looking at some data. I'm not building a track car, so I don't need anything too wild. (I actually settled on this one from Comp Cams).
Even it my days as a professional scientist I *hated* doing any kind of background research, and it was no different with learning about engine components. When it came down to figuring out spring pressures, retainer styles, guide rails, screw-in studs and yadda yadda....I was about ready to die from lack of interest. This might sound like heresy to most "car guys" but that's how it was. The minutiae of the mechanical aspects just don't do it for me when compared to rust removal or installing a wiring harness. If I could have waved a magic wand at the Summit catalog and had the engine gods assemble my parts list I would have. So, after months of procrastination (and, let's be honest, stockpiling some $$$) I called on my BAMA buddy Chuck and handed over my credit card.
We started off by inspecting the heads, and the first thing Chuck told was I needed a valve job and some replacement valves. So more machine work in other words. This might not sound too bad, but in the seven months since I collected my engine block, Stirtz Machine closed its doors for good after Carl retired. I called S&S in Hayward, but after informing me that "we're not taking no more heads right now" the bird at the other end hung up on me! Still, we put this little snag to one side and spent a couple of hours figuring out exactly what parts I needed to go with the cam. Or Chuck did really. I mostly just listened. I've always gained a much richer understanding of something from fifteen minutes with an expert than I ever did spending hours reading.
The spec. I finished up with was designed around the Comp Cams CCA-CL35-416-3 Cam and Lifters set (Hydraulic Flat Tappet). I bought compatible Comp Cams rocker arms, valve springs and retainers, valve locks and valve stem seals. I also bought new ARP main and head bolts. For the rest of the rebuild I picked up some Comp Cams push rods, a full set of Felpro gaskets, replacement main (std) and rod (-0.10) bearings, piston rings, and a Melling oil pump with a new driveshaft and a Comp Cams timing chain and gear set (Magnum Double Roller no less!). I also splurged on a pair of Hedman ceramic coated shorty street headers. The metallic gray coating goes really well with my aluminum intake manifold and the zinc-plated accent pieces I'll be installing in the engine bay. We decided not to order valves just yet pending consultation with the machine shop...assuming I can find one!


 |
| Lots of boxes like this in other words |
 |
| Ahhh...headers :) |
 |
| This is probably a photo too far.... |