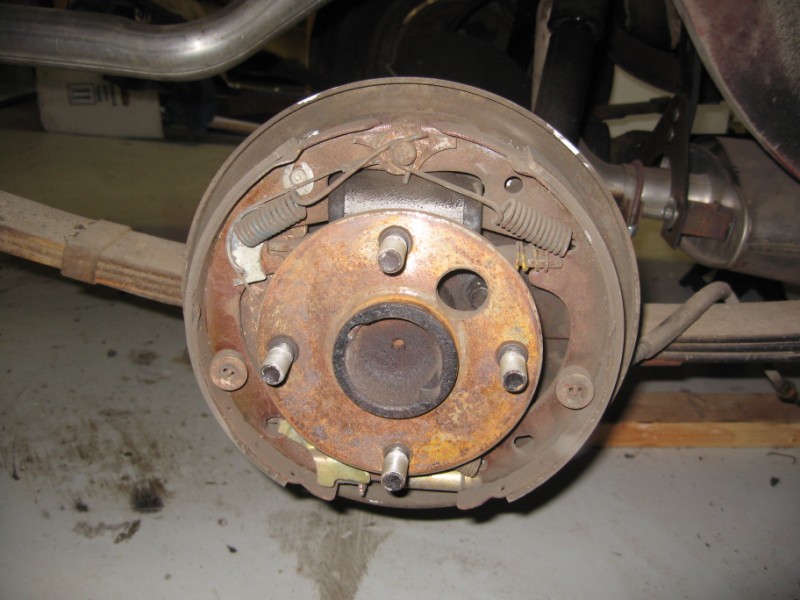
Some of the parts like the park brake link bar were definitely original '68 ford parts, but the springs and a few other bits were repros. The biggest pain about getting the brakes apart is removing the park brake cable, but I already moaned about that here, so I'll skip it this time round.

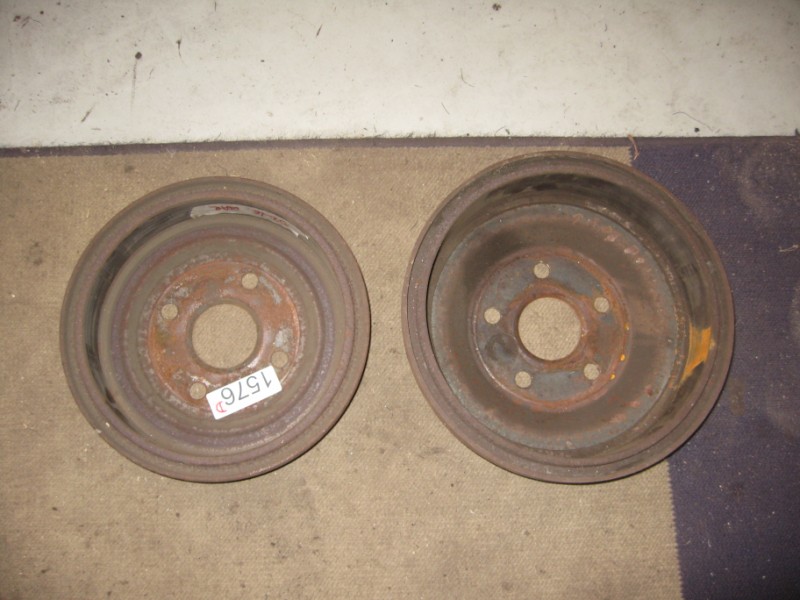
The backing plates were in reasonable condition with most of the paint still intact, but the drums were heavily rusted. What they needed really was sand or media blasting, but I don't have that luxury in my shop - I just don't have the space for a decent cabinet and my compressor isn't up to the job either. I could have easily outsourced the task locally, but this project is about saving money where practical, and in any case I was impatient, so I broke out the wire wheel once more. This was the result after about an hour:

Time to build a paint booth! Some might call it a cardboard box nailed to a table, but to me it's a paint booth. Here it is with the door open:

This is the view with the door closed:

I took the drums into the booth and hit them inside and out with several thin coats of zero rust. I taped off the inner rims, but I was a bit haphazard about it - I'll be having the drums turned later on, so a bit of overspray is nothing to worry about.

Next day I sprayed the drums with two coats of Eastwood brake gray - I'm getting to like this paint because it is really thick, but goes on even with no runs. It can reputedly withstand up to 400F. Hopefully I will get a chance to test this claim one day.

The small parts that I'll be re-using also got a going-over with the wire wheel and a coat of the gray. I painted the axle retainers at the same time.

I'm replacing the brake shoes, springs and most of the other small parts, but I kept the wheel cylinder bolts and a few other items which were in good enough condition. This was my first chance to try out the zinc plating kit I got from Eastwood. I decided to buy this kit after reading Tom Mackie's review. Really I don't have much to add to that excellent testimonial. My own experience showed that the more effort invested into getting each part really clean before the plating, the better the finish. Since most of these parts will never be seen I didn't waste any time on polishing, although you can do that too. As long as you understand it's never going to look the same as chrome. One of the best engine compartments I've ever seen was painted flat black and had every fastener dull-zinc plated. It was/is a really cool look.

I gave the backing plates the "POR-15 treatment" that I described here. They came out good enough rather than exceptional.

I could have got by with reusing the wheel cylinders, but when they're 10 bucks each, why take a chance...it's worth 10 bucks each not to have to clean the old ones!

Reassembling the shoes and springs was one task I was really not looking forward to. I usually love putting something back together after taking it apart and cleaning it up....but this looked difficult. I couldn't find much online about how and in what order to do things...so I just had a go...there were a couple of moments where I could have done with a third or even a fourth hand, but I managed.

It took me about an hour to get both sides together. Is this good?

A few days later I took the drums in to SP Auto in San Leandro and had them turned - this was how they looked afterwards:

I had SP press the new bearings onto the axles at the same time. So that's that. Apart from figuring out what I'm doing with the differential, the rear end is all done...now back to the bodywork...