
And that's where the dilemma began. One option was to buy a complete refurbished third member...$$$...or I could spend even more $$$ on having the one I already own modified. I feel like changing the pinion and differential should be cheaper than buying a complete unit, which just goes to show why I never did very well at economics. Balancing this against the need to get the car back rolling asap, I put the decision to one side and started cleaning up the stock 7.5 inch/4-lug rear I took out of the car in the summer. Although I removed the drum brakes, I never felt the need to pull the axles, and the housing has been sitting on the garage floor ever since.
 |
| As it stood, with a thick oily coating of DIRT |
Take a look at it in close up - absolutely covered in half an inch of dried on muck. It's probably never been cleaned since the day it left the assembly plant in March 1968.

I just could not bear to put it back under my lovely clean chassis in this state, so I devoted 20 minutes or so to chiseling off the dirt with a paint scraper and a flat blade screwdriver. The picture below doesn't really do justice to the amount of grot I had to remove.

I then gave the entire housing a going over with a warm solution of Marine Clean and a scotchbrite. Good enough.

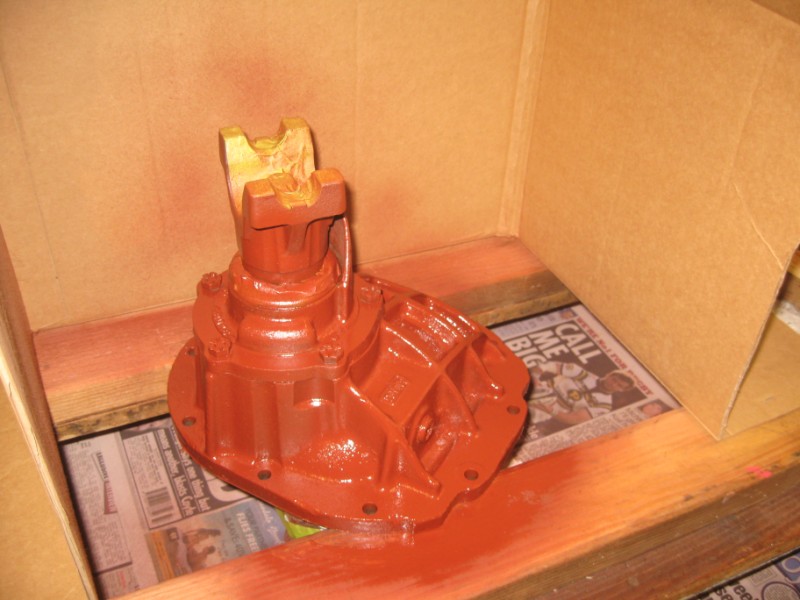
But there was still something stopping me putting the (cleaned) 4-lug unit back on the car. It just felt like a backwards step. Cue more to-and-fro on what to do about the third member and the rear suspension. Finally I decided my best option would be to clean up the eight inch third member, stick with the 3.00:1 ratio for now, and direct all my spare $$$ towards an upgraded rear suspension. After all, I'm not building a track car, and while the car may be slow off the line, it will be great for freeway driving. And, of course, I'll always have the option of upgrading the differential in the future, should I choose to do so. Here's a shot of how the eight inch differential case looked when it first arrived in my garage - certainly not as bad as the rear end I removed, but still covered in a very-hard-to-get-off layer of dirt.

I set up two raised pieces of thick timber to support the differential case, and covered them with a thick piece of cardboard. Using the third member gasket as a template, I cut a hole in the cardboard and suspended the case over the hole - the idea was to keep all the crud away from the inside of the case, and it worked rather well. The cleaning process consisted of sploshing a generous solution of Marine Clean over the case and hacking away at the crud with a paint scrapper and a flat blade screwdriver. My Dad was around over the Thanksgiving holiday, and he did a lot of the cleaning. After most of the dirt was removed the case got a good going over with acetone and a scuff pad, which also removed most of the original paint.
 |
| Part way through the cleaning process |
One of the problems cleaning an object this shape is that every time you think you're nearly done, you find another small area of dirt still stubbornly hanging on. I think if I was to do this again I would opt for media blasting, but whatever, this project is all about learning after all. When it was finally passed clean, I sprayed on a couple of thin coats of zero rust and left it overnight to cure.
The next day the housing was treated to two coats of Eastwood brake gray - I know most people stick with the stock red color for the differential case, but I wanted to use the gray color to match it in with the axle studs and drum brakes I painted previously.

While the paint was curing I replaced the axle seals in the housing. I probably could have left the original seals in place as they looked to be in good shape, but replacements are only about eight dollars each and it's considered good practice to replace them whenever you have the axles out of the housing.

I purchased a bearing driver kit, which supposedly provides enough different sized discs to facilitate the installation of most seals and bearings. Did I say "most"? Yeah, well exactly. The closest disc was just a tiny bit too big....while the next size down was smaller than I would have liked to use...but seeing as it was all I had, I decided to give it a go.

I had my Dad hold the axle housing upright on top of a piece of 2"x6" timber covered with some towels, and gave the seal driver several moderate taps with a dead blow hammer. This actually worked very well. I was constantly moving the seal driver around inside the tube so that each hit was delivered towards the edge of the seal, rather than in the center where the force may have caved in the new seal.

All in all I was really happy with the results on both sides, which looked like this:
 |
| Axle housing fitted with new seals |
I bought two quarts of 80-90W oil to use inside the differential housing.

Following a tip from Alex, I tipped one quart into the housing before I installed the third member. The greenish color of the new gear oil was a stark contrast to the dirt black sludge that came out back in the summer.

Next I broke out the Permatex Indian Head gasket shellac and applied a layer to both sides of the new gasket and left it to dry - drying took about ten minutes per side.

I lifted the gasket onto the housing and was careful to wipe any excess gasket sealer off the studs.

Lining up the third member was straightforward, but it required a couple of gentle taps from the dead blow hammer to seat it onto the gasket. I then added new copper washers and stud nuts since the original ones were either smashed up (washers) or looked horrible (nuts).
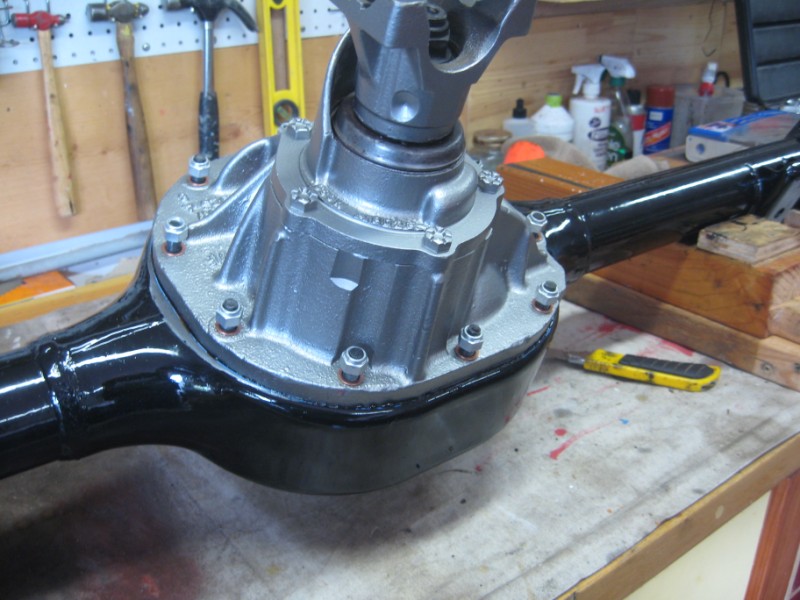
I then took one of the stud nuts back off, added the ID tag which I had previously forgotten, and replaced the nut. I cranked the nuts down to about 35 ft lbs with a torque wrench - the Ford '68 Shop Manual specifies a range of 30-40 ft lbs for these fasteners, so I tried to hit the middle of this range.

Fitting the drum brakes and inserting the axles requires two more gaskets. The first goes between the housing flange and the rear of the brake backing plate, and the second then goes on the other side of the backing plate and against the axle retaining plate. Once the axle is slotted into place the hold down bolts were inserted and tightened down through the hole in the axle end plate. It was very useful to have an extra pair of hands to help with this process (thanks Dad!), as it was rather involved. I should probably have taken more pictures, but I was more concerned with lining up the various parts with the holes in the gaskets and getting them secured in place.

The housing was then flipped round and the process repeated with the passenger side drum brake. So there we have it: ready to move on to installing the suspension and bolting the axle back under the car. Watch this space!

That's a damned fine looking rear axle assembly. Outstanding work!
ReplyDelete